Tag: blender

  • I Made a Chess Set…and a Chess Game

    I Made a Chess Set…and a Chess Game

    As my 3D modeling journey continues, I find myself getting closer and closer to a comfort level with adding my models into a game. The world of 3D modeling has been a complete mystery to me for a long time, so about a month ago I started a Blender course on Udemy. That course has, so far, focused entirely on rendering 3D models and has lacked any sort of mention about using 3D models in game engines. Though the course does promise to teach this process, I got antsy.

    I recently completed a portion of the course in which I created a Chess set in Blender. The results are quite nice, I must say. Take a look for yourself.

    Blender 3D Eevee Render of a chess set, with a focus on the Knights
    Blender 3D Eevee Render of a chess set, with a focus on the Knights
    Blender 3D Eevee Render of a chess set, with a focus on the Kings
    Blender 3D Eevee Render of a chess set, with a focus on the Kings
    Blender 3D Eevee Render of a chess set from an above angle
    Blender 3D Eevee Render of a chess set from an above angle
    Blender 3D Eevee Render of a chess set from atop the Rook tower
    Blender 3D Eevee Render of a chess set from atop the Rook tower
    Blender 3D Eevee Render of a chess set as the black Knight stares down the white King
    Blender 3D Eevee Render of a chess set as the black Knight stares down the white King

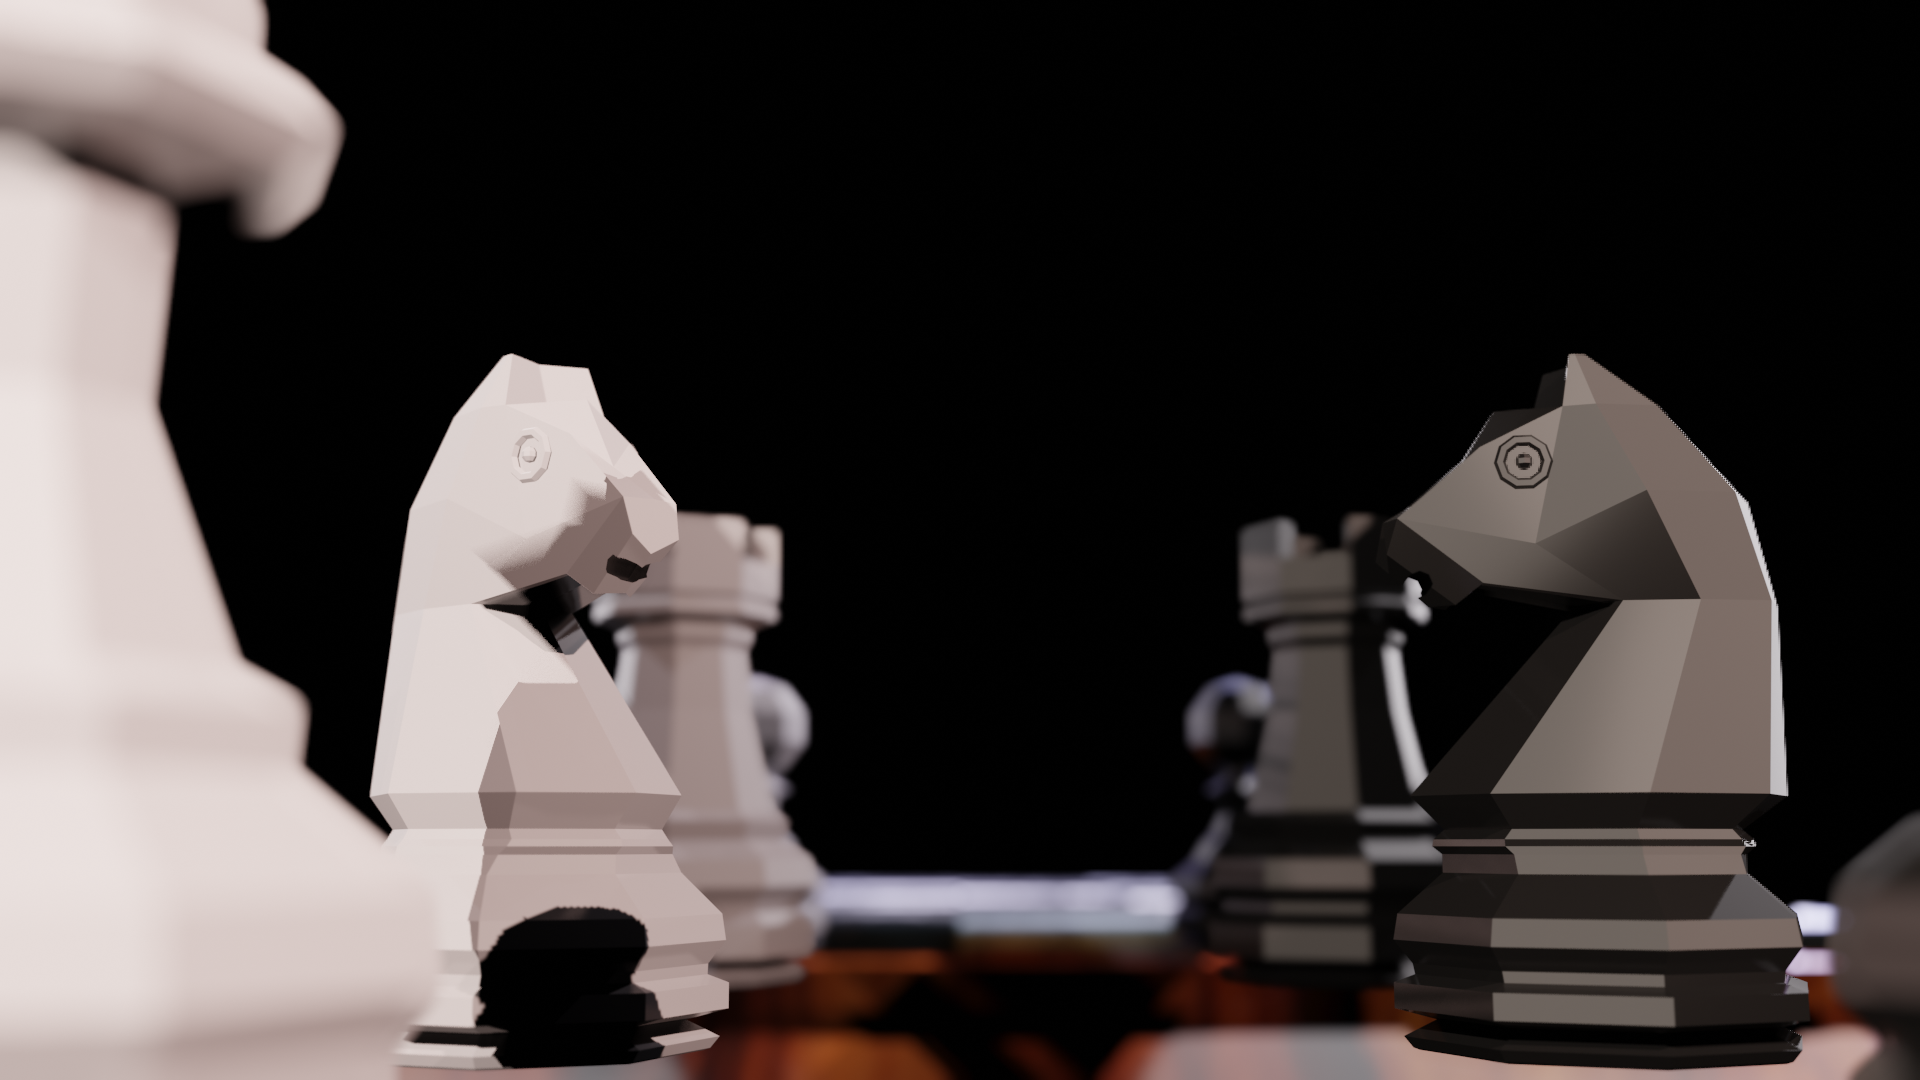
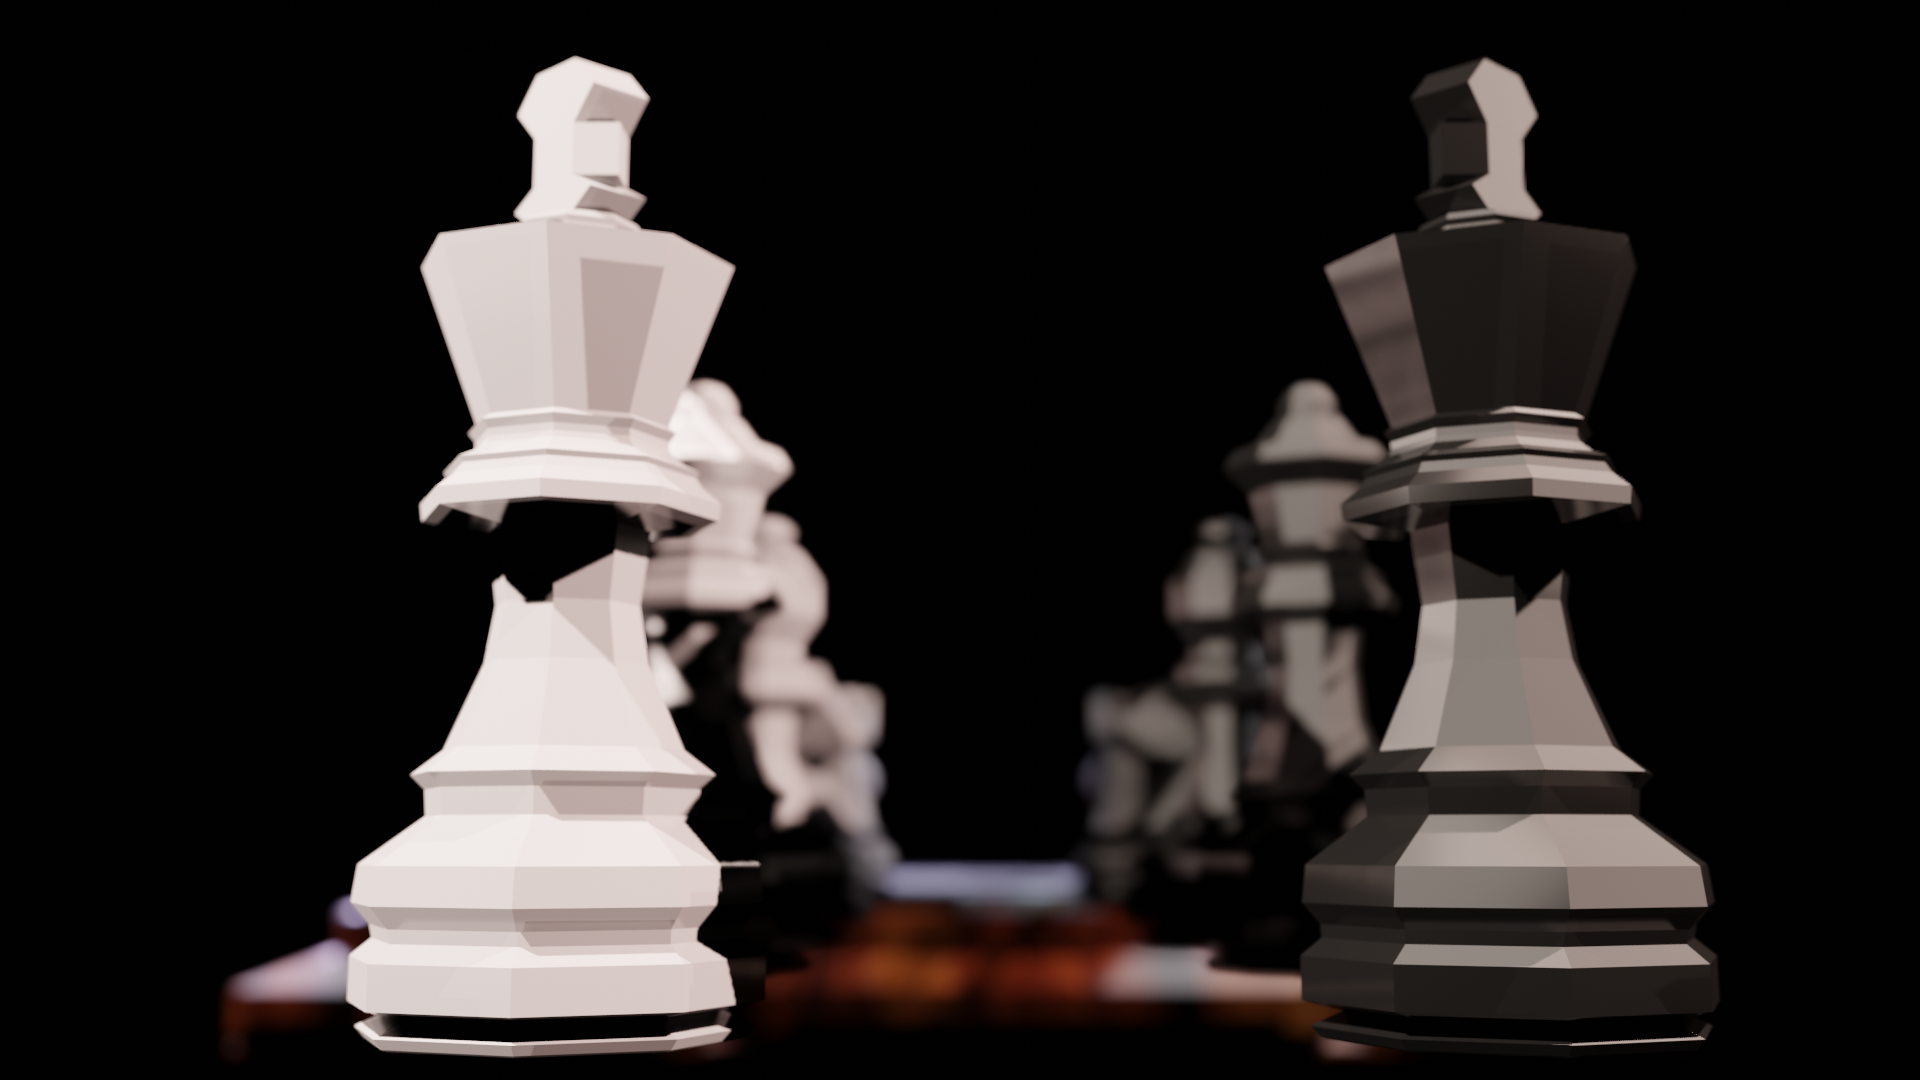
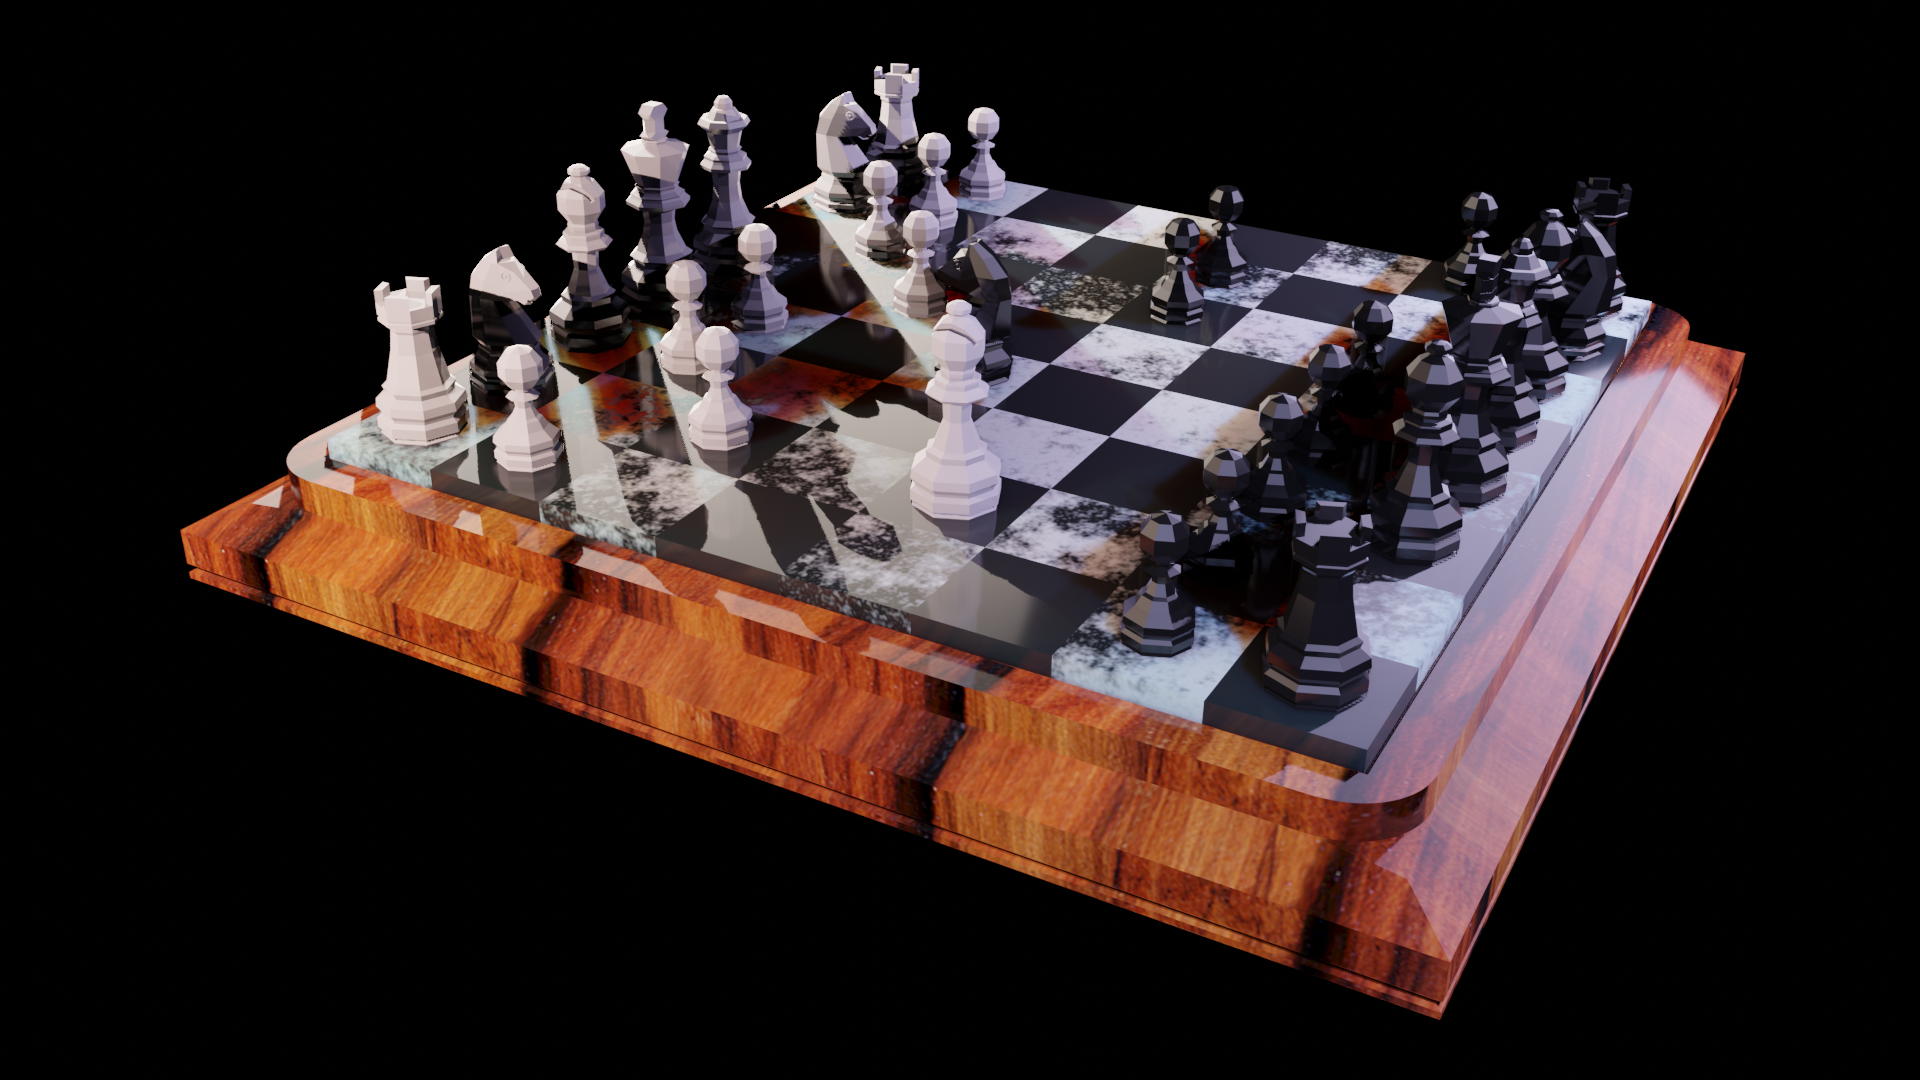
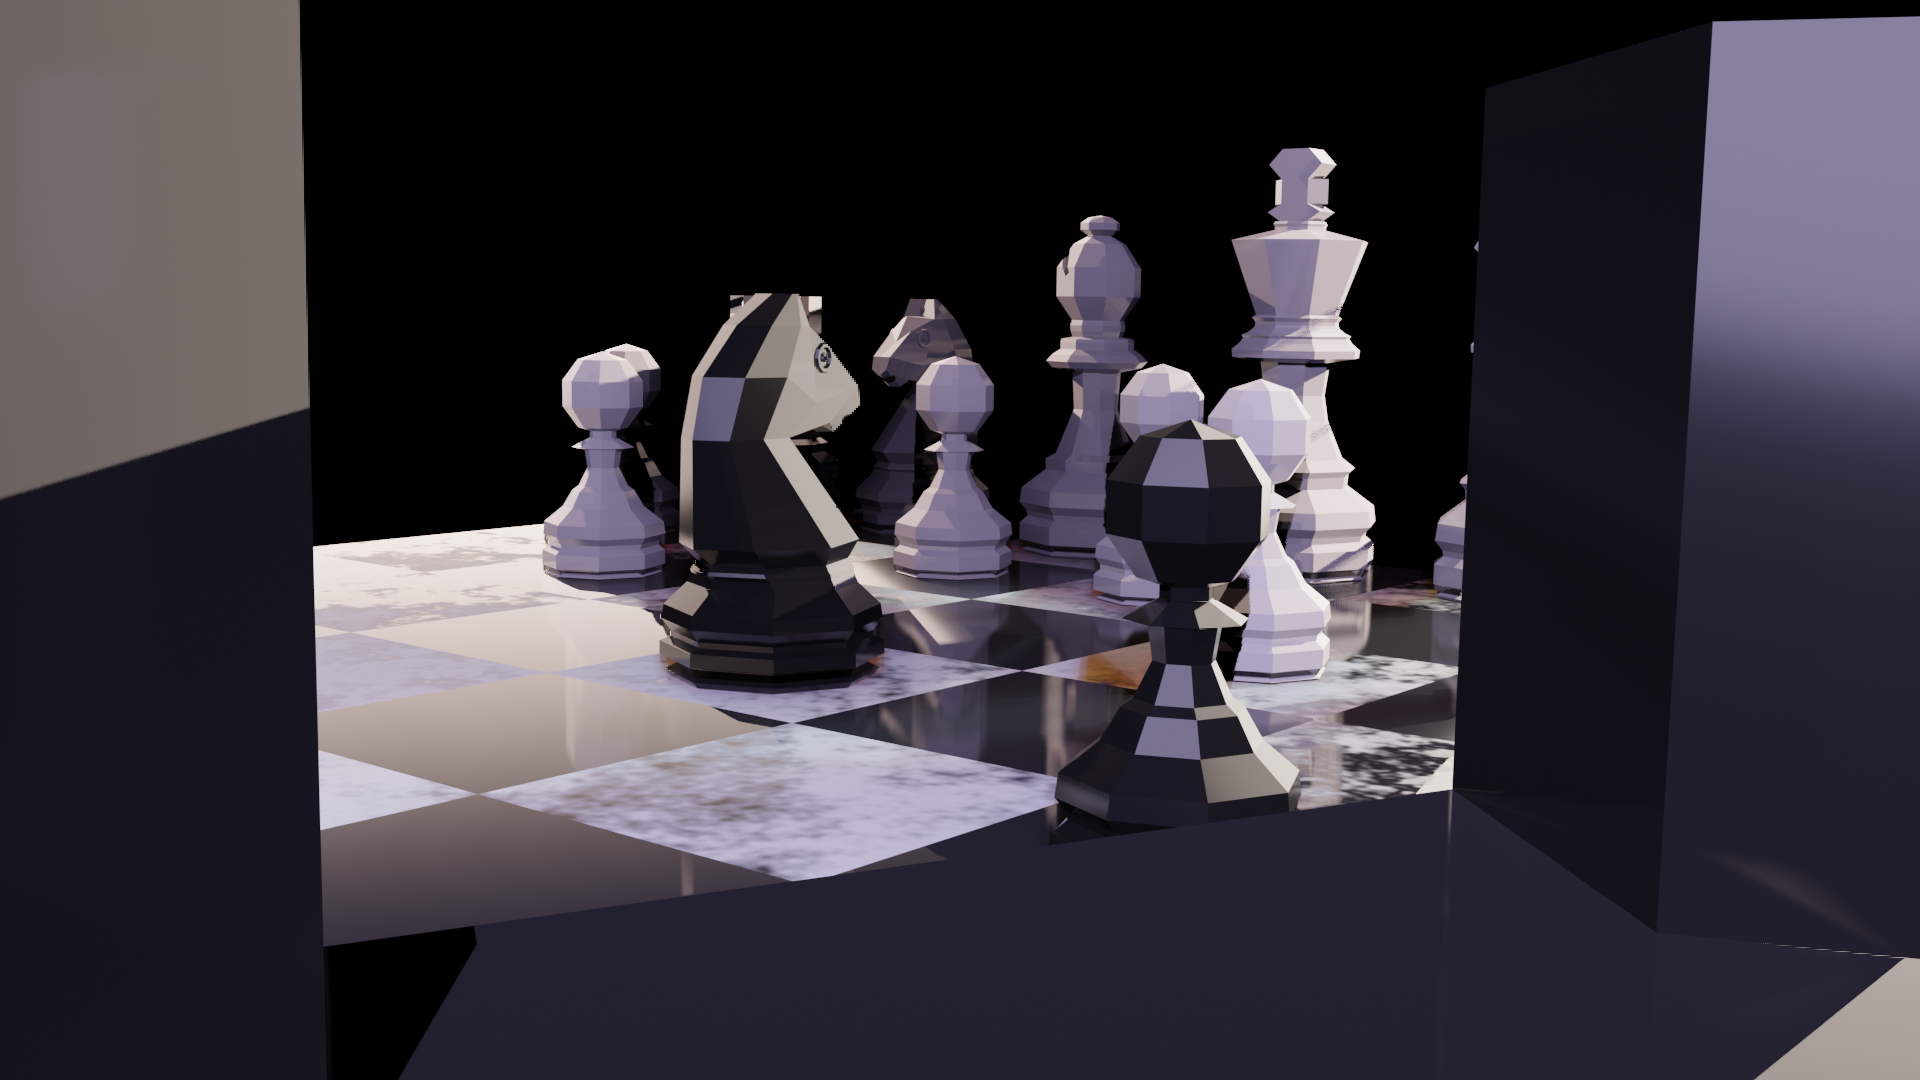
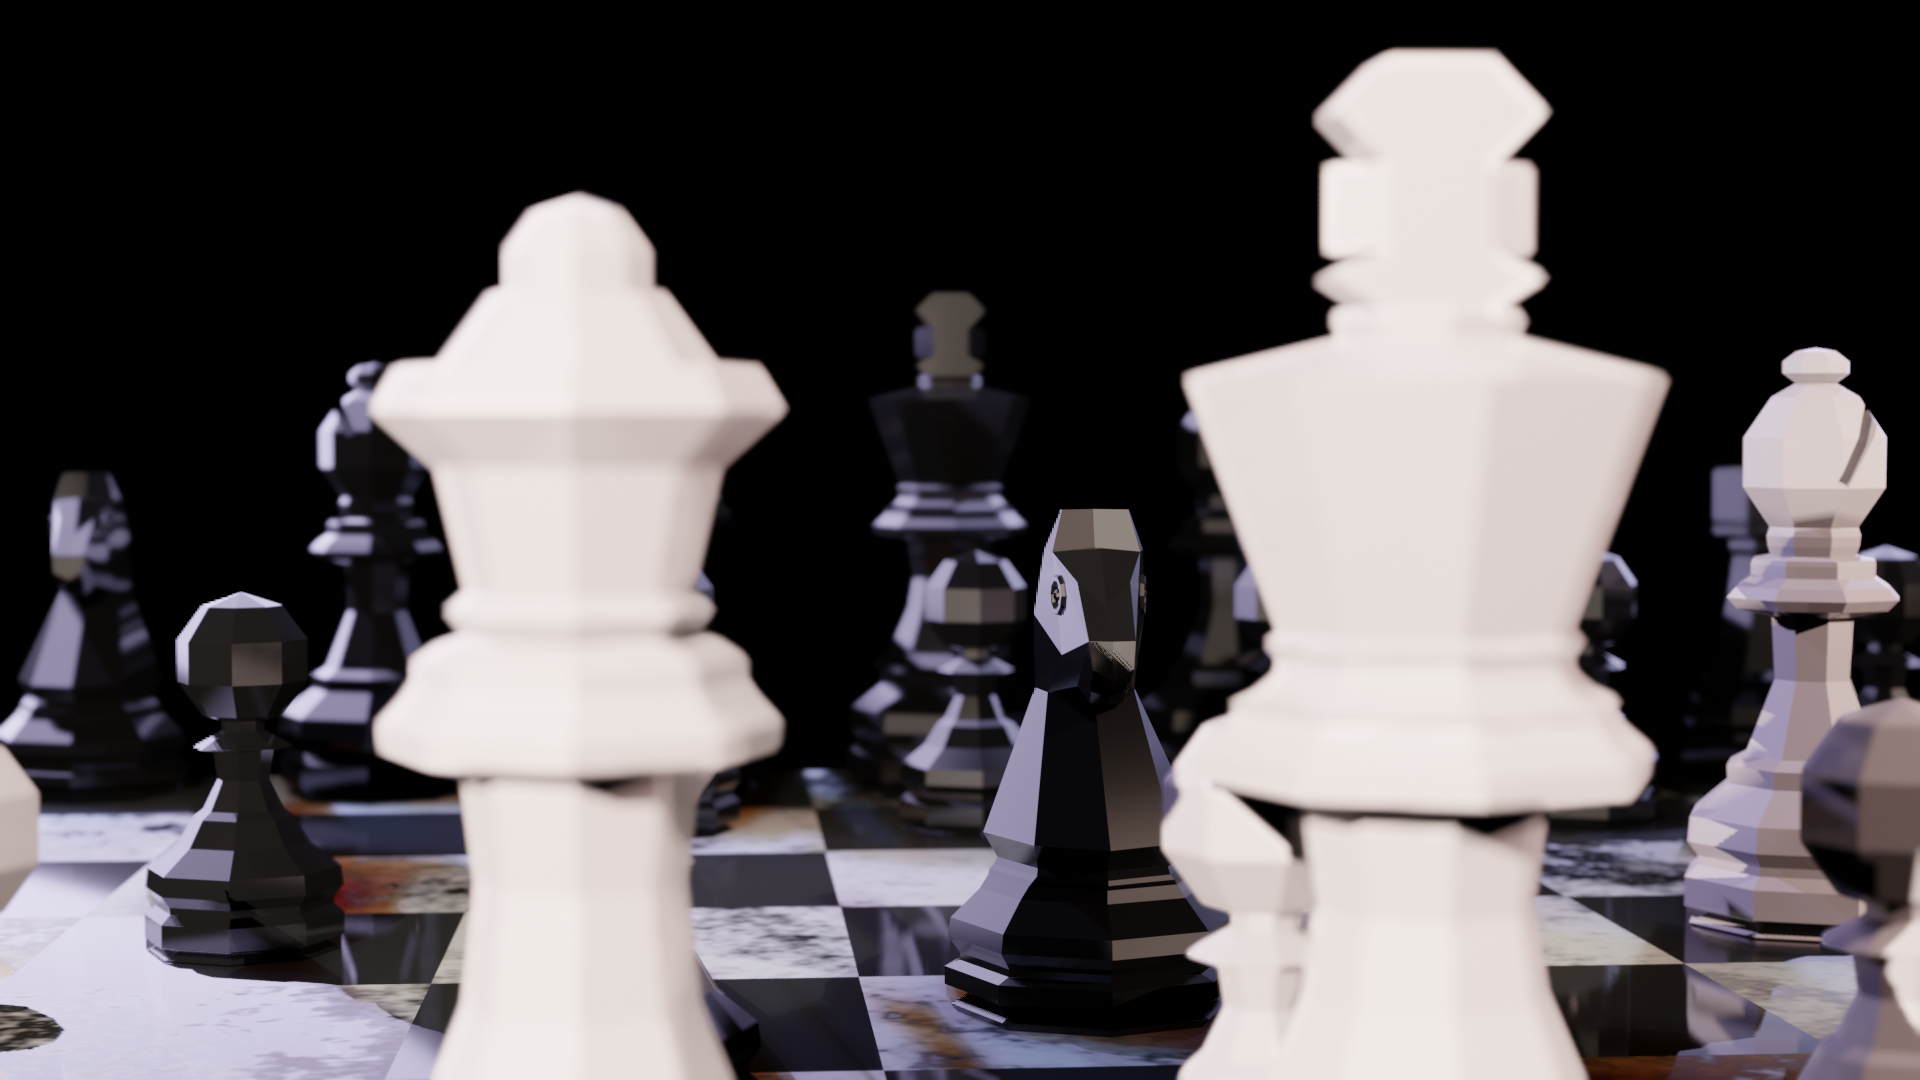
    For these renders I decided to focus on the Eevee engine, instead of the Cycles engine. The Eevee engine is much less computationally expense, which will become very important as I start working with my models in Unity. Though Unity has it’s own lighting system, learning about non-ray-tracing engines like Eevee should help me better understanding the lighting methods I’ll use in Unity.

    Once I had the models created, I felt compelled to put them in a game (see above: “I got antsy”). This lead me to search out some existing Chess game logic that I could use with my own models. This process required that I dig into someone else’s code in a way I’ve never done before. I’m teased apart bits and pieces of other people’s code, but never have I taken an entire project’s worth of code as both a starting and ending point. This lack of control, or maybe lack of insight, is very uncomfortable for me. I don’t like seeing something work while not fully understanding why it works.

    This process taught me an important lesson: things move much faster when other people are helping.

    After all, if I didn’t let the author of the existing Chess game logic help me with this project, it would never have become a project at all.

    Head over to my Itch.io page to play my Chess game.

  • Desk Golf, where a ball named Juan thinks everything is a golf hole.

    Desk Golf, where a ball named Juan thinks everything is a golf hole.

    I call this scene “Desk Golf.”

    My lamp model makes a comeback in this lesson! This time, it’s helping a golf ball reach the hole at the top of a stack of books.

    I cheated a bit by looking up a tutorial on how to make the golf ball. And somehow, even with the tutorial, I managed to mess up the golf ball. The dimple pattern is weird in some places. But, I have to remember that golf is weird in some places. Looks like I just turned this bug (ugly ball) into a feature (ugly ball…because golfers like it that way).

    Also, the transition from the cylindrical metal eraser ring on the pencil to the hexagon shape of the pencil is pretty jarring. I’m excited for future lessons where I might learn about ways to fix this.

    A few things I learned while making this that I can apply to future projects:

    • Applying color early to a model can help identify geometry issues. I realized, very late in the project, that the spine of my hardcover book model doesn’t align with the cover, which causes a dark like (empty space) along the entire length of the spine.
    • When using the same base model over and over in a scene, think about whether the parts should be a single object or many. For example, with the books in this scene, I wasted a lot of time adding the Paper color material to surfaces within a single object. I probably should have 1) created a “paper” cube, 2) applied materials to that cube, and 2) THEN added covers of varying colors.
    Desk Golf, a scene made in Blender 3D featuring a golf ball and his lamp friend measuring up to a hole at the top of a stack of books.
    Desk Golf, a scene made in Blender 3D featuring a golf ball and his lamp friend measuring up to a hole at the top of a stack of books.
  • Lamp Lessons: Lessons Make Lamps. Lessons Lamps Learn. Blender is Neat.

    Lamp Lessons: Lessons Make Lamps. Lessons Lamps Learn. Blender is Neat.

    I call it “Lamp Lessons.” Because even non-sentient desk furniture should know to put pencils away when done with them. It seems the mom lamp is scolding the child lamp for some reason. Maybe the child lamp forgot to put the pencil back with it’s mate? How did the child lamp hold a pencil, you ask? Don’t ask. It’s rude.

    Blender model of two desk lamps
    Lamp Lessons

    I took a short break after completing the donut tutorial to learn a bit about Unity’s Mecanim system. And a bit is exactly how much I learned. I feel like that despite the endless complexity the Mecanim system offers, I learned it more quickly than I was expecting. One short Udemy course does not make an expert, I understand, but I feel comfortable with that I know. Comfortable enough to move on and take another Blender course.

    See, Blender, unlike Unity and the Mecanim system, is not coming to me quickly. 3D modeling is quite hard for me, actually. So, for now, I’m turning my focus to Blender with the hopes of coming back into the animation side when I learn how to create custom animation rigs in Unity. At that point, I think, the words of Unity and Blender will truly collide, and then I will truly be able to make some cool games.

    Always follow passion. Right now, I have a passion to learn more about 3D modeling. It sure doesn’t hurt that I’m having a ton of fun doing it (Fun is the strongest direct motivator).

    Teaching my own desk lamp to always put pencils back when finished with them


    Blender Workstation Photo 1


    Blender Workstation Photo 2
  • Learning Blender 3.0 one simple logo recreation at a time

    Learning Blender 3.0 one simple logo recreation at a time

    My game development journey has finally lead me to the world of 3D. And with 3D comes a modeling tool like Blender. I have ideas for games that could make use of such 3D modeling, of course, but honestly, as a solo dev, the world of modeling is quite daunting. Nevertheless, I felt it important to at least be familiar enough with a tool like Blender so that at the very minimum I could communicate effectively with other devs who do 3D modeling.

    My very first jump into the world of Blender was, what I later learned, many first-timer’s first time jumping off point: the Blender 3.0 Beginner Donut Tutorial video series. This series is all about learning the basics, ultimately ending with rendered model of a donut. I’m happy with my attempt:

    The tutorial video series introduces animation in the later videos. Here I was to animate the donut spinning at an angle along the z axis. However, my years spent learning new tools has taught me one very important lesson: motivation follows passion. So, instead of animating the donut (don’t get me wrong, I’m very passionate about donuts), I decided to try creating and animating a model of the Polymedia Network logo. In case you aren’t aware, I co-host a podcast on the Polymedia Network called Tales of the Lesser Medium. So, with an audience in mind (my co-host), I had more passion for this project and therefore knew that I’d be willing to push through when things got tough. This is the same logic that lead me to creating my Top Trumps style game using avatars from the Polymedia Discord server. Daunting project + audience I care about = motivation.

    Here is the original logo:

    Polymedia Network Logo

    It’s simple. The precise geometry is captivating. There’s a lot going on despite how simple it is. For example, did you recognize that the top plane of the inverted yellow cone is perfectly aligned to the bottom corner of the block? I did. Or did you notice that the space between the top plane of the cone and the inner edge of the blue cube is the same width as the edge of the cube? Well, I didn’t, as you can see in this 3D render. I wish I would have made the cube edge width more accurate to the logo. Overall, though, I’m happy with the result:

    But you didn’t come here for some dumb static image. You came here for animation:

    I can’t tell if the inverted cone is actually wobbly, or if that’s just a trick-of-the-eye. Maybe, it’s whatever you want it to be.